


Towa Tension Gauge

Towa Tension Gauge

Select an icon to view image gallery.
Educational Tutorials Hide Videos Show Videos
-

TOWA Bobbin Tension Gauge for Longarm Quilting
View VideoThe TOWA bobbin tension gauge is a fantastic notion to help ac...
-
How To Achieve The Perfect Tension On Any Sewing Machine! (TIPS/TRICKS/TUTORIAL)
View Video❤️Shop The Mentioned Items in This Video ❤️ https://jukijunki...
-
JUKI Tip: Adjusting the Bobbin Tension on Your Longarm
View VideoFollow along for our JUKI Tip on how to adjust the bobbin tens...


What it's Used For:
This handy tool allows you to measure your bobbin tension down to the science. Keep track of your perfect tension settings while also guiding you to make thread tension adjustments.
- Available in 2 sizes: For Size M bobbins , and Size L bobbins
- Juki longarms will need the M size Towa gauge, and the Juki TL machines, as well as the Juki Tajima Sai will need the size L Towa guage.
- Perfect for embroidery, long arming, free motion quilting, and working with specialty/thicker threads.
- The towa gauge takes the guessing out of tension adjustments by giving you a number measuring the tension. With not set up, its ready to be your helping hand right out the box.
- Keep track of your perfect thread tension setting for your specific applications, and threads.
- Scroll down for compatible models, helpful tips, and video tutorials.
Compatible with:
- Juki Longarms (size M): J-350 QVP, and the TL-2200QVP.
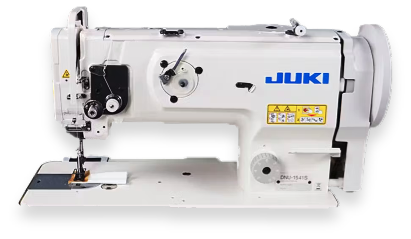
- Juki TL Machines (size L): TL-2010, Juki TL-15, Juki TL-2010Q, Juki TL-2000Q, Juki TL-2000QI, Juki TL98, Juki TL-18QVP Haruka, Juki TL18-QVP Haruka Collectors Edition, Juki TL-2020PE, Juki TL-2200QVP Mini sewing machines.
- Juki Tajima Sai Embroidery Machine (Size L)
Note: Before using the Tension Gauge, make sure your bobbin case is clean. The gauge needle should provide a steady reading. If you see the gauge needle giving a bouncing or erratic reading you could have a dirty or defective bobbin case
Tip: Slide a business card back and forth under the bobbin tension spring to clear any dirt.