


Posted by Boki on December 29, 2021
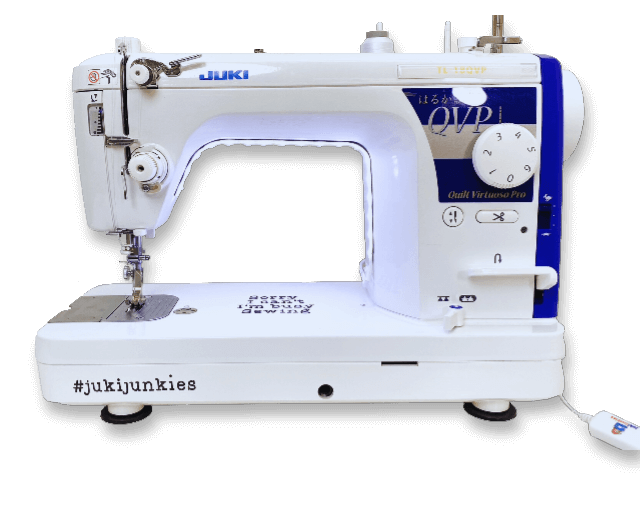
-->Achieving the right 1/4” on your Juki TL machine is super important, and there are multiple ways of getting this desired seam allowance. Let’s cover the basics first.
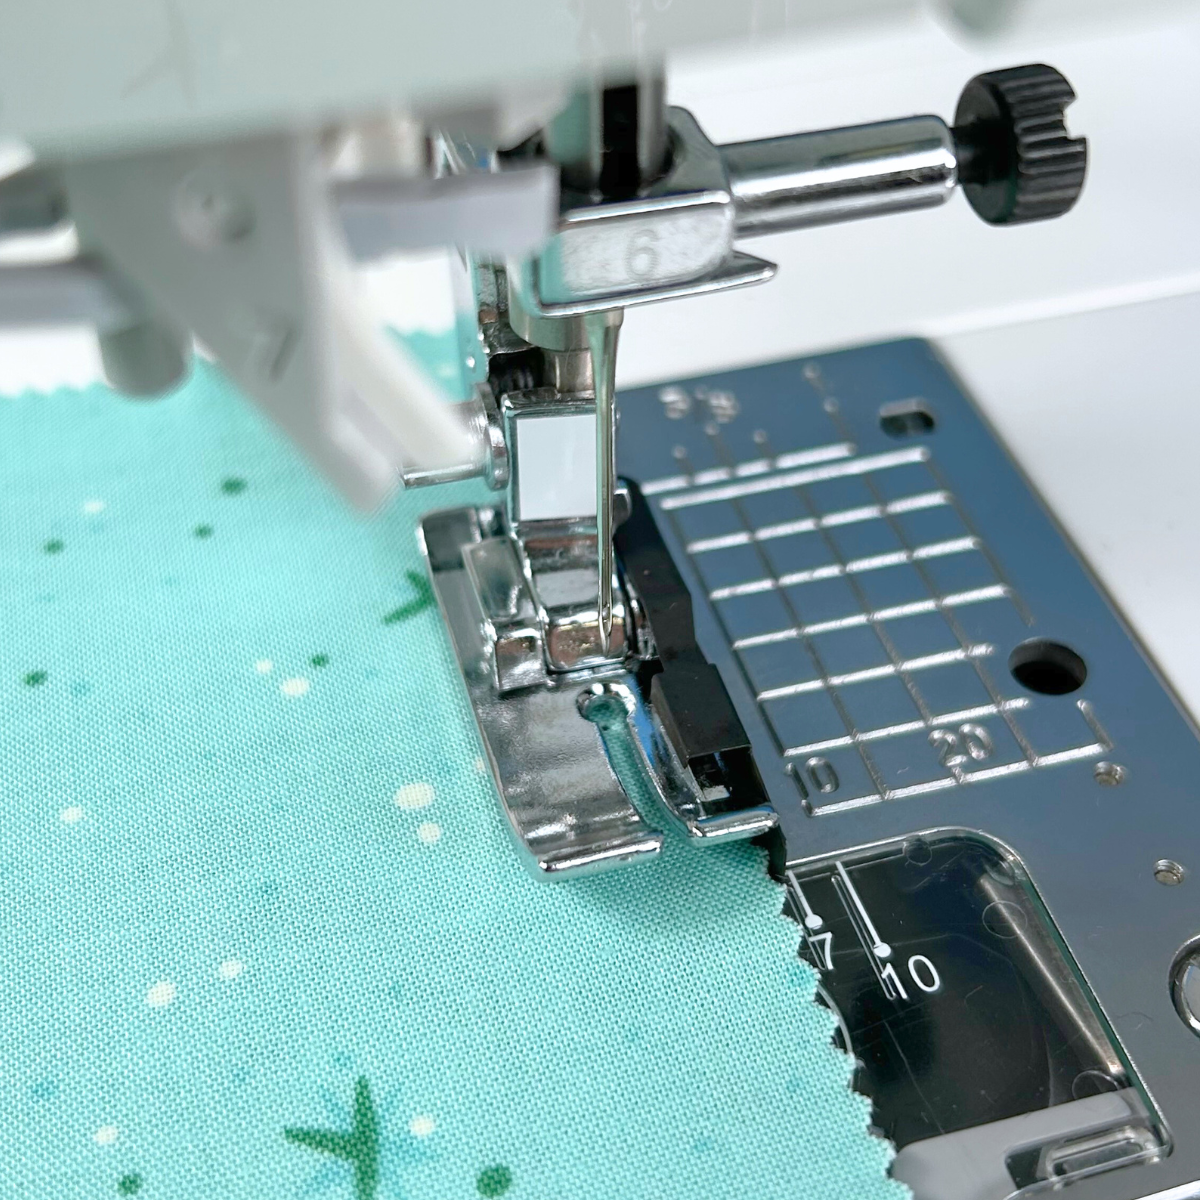
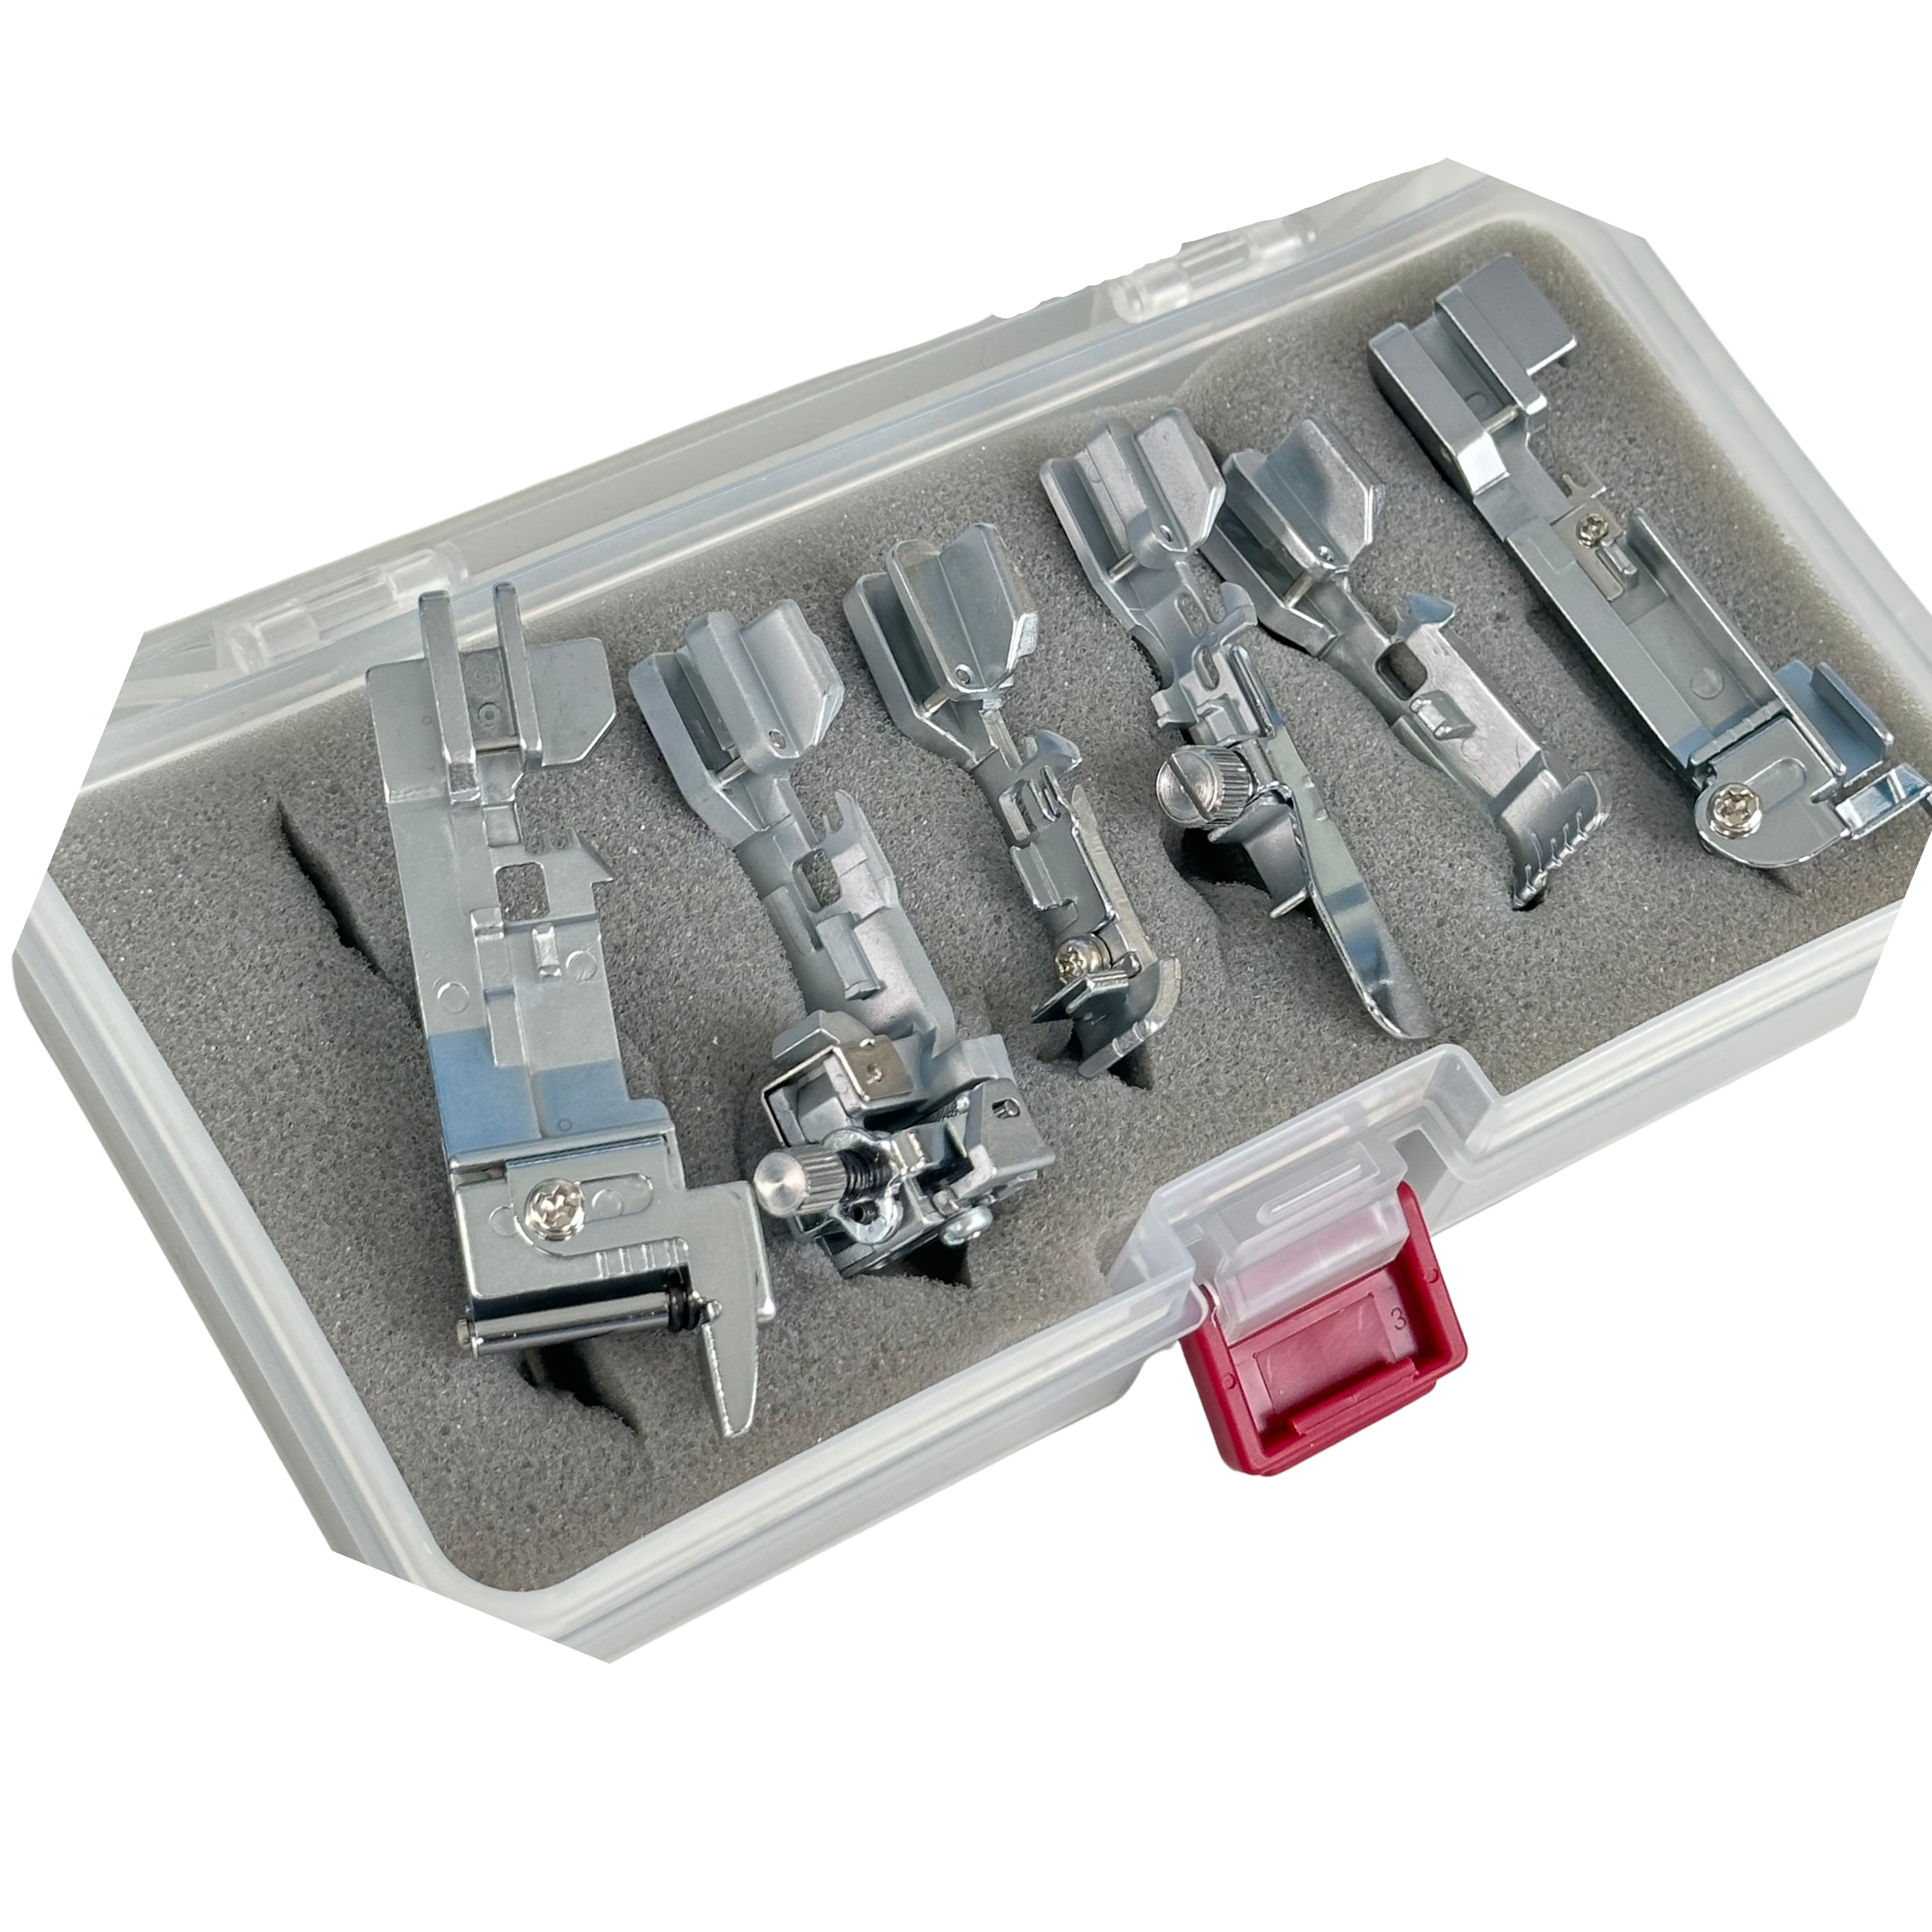
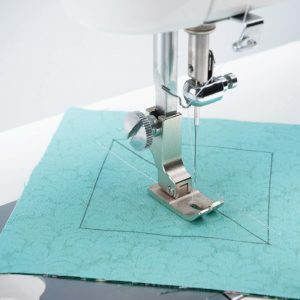
On every single Juki TL machine you get the “Standard Presser foot”, the narrow foot that was installed on the machine when you first got it. It looks something like this:
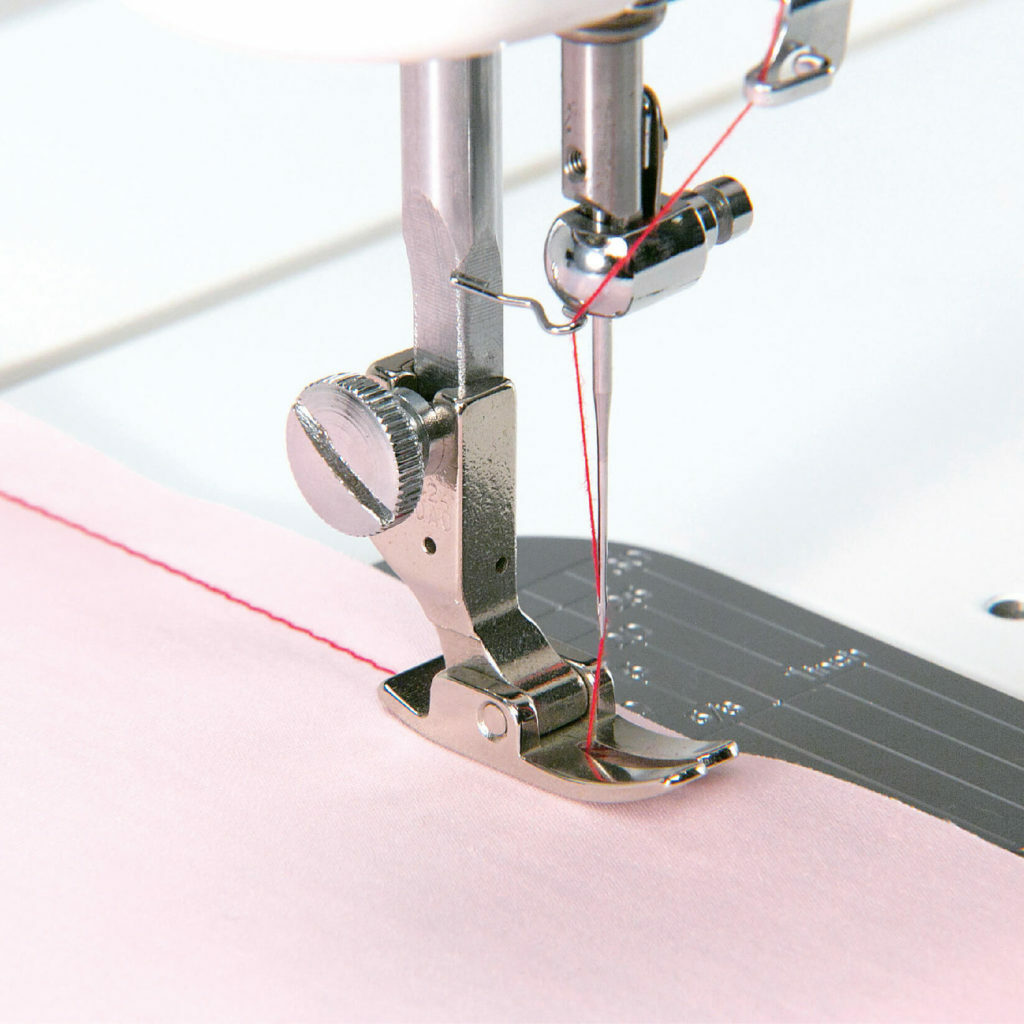
The Standard Presser Foot gives you a scant 1/4” seam allowance when you follow the right side of the foot. A scant quarter inch is just shy of an accurate 1/4”. If your pattern calls for that, your standard presser foot is all you need.
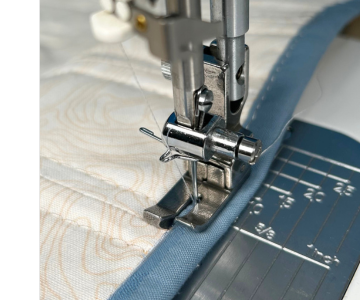
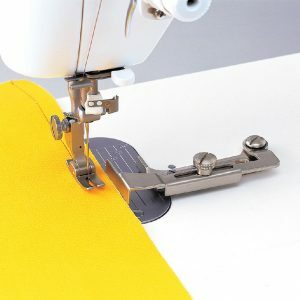
Next up, you have the option of using the “1/4” with a guide”. It looks just like this:
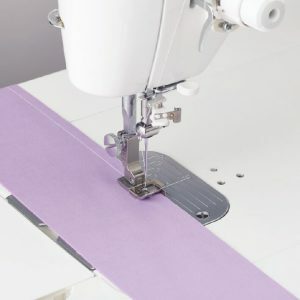
(this foot comes included with the TL-18QVP, and the TL-2020PE only)
As an optional accessory for most Juki TL machines, the 1/4″ With a Guide Foot is probably the fan favorite. It has a wire guide on the right side of the foot that allows your fabric to hug alongside that guide to keep you nice and straight, to get that perfect straight line that’s 1/4” away from the edge of your fabric. Be mindful, if you are making bags or sewing together something that has some thickness to it, this foot is probably not the best fit for you. It’s most ideal for piecing together cottons, linens, or anything mid weight. The guide will only hold you back if you’re making bags or putting together chunky fabrics. For those occasions we have the…
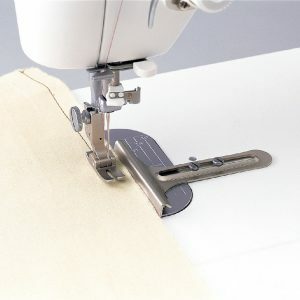
“Compensating 1/4” with a guide”:
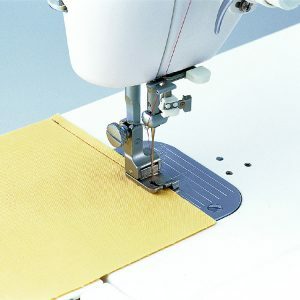
The Compensating 1/4″ Foot with Guide gives you a 1/4” when you follow the inside of the guide, just like the regular 1/4” with guide. The only difference here is this foot has a heavy spring controlled guide. When you are working with bag making materials or thick layers, the Compensating 1/4″ Foot with Guide helps keep everything straight and applies pressure to keep everything together. This is NOT practical for piecing. You may get really tight, bunched titches. If that happens it means that the material you are using is too light and you need to switch to another foot.
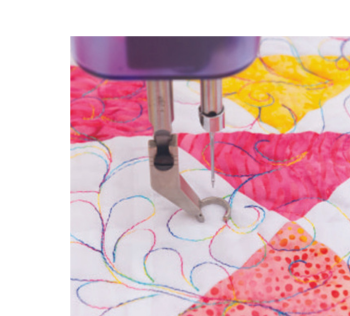
Last but not least, my personal favorite: the “Hinged 1/4 foot”
The Hinged 1/4″ Foot is the best of both worlds. This is most similar to the Standard Presser Foot, in it has no guide whatsoever but, when you follow the right side of the foot it gives you an accurate 1/4” seam allowance.
With this foot you can use a wide variety of materials since there is no guide and nothing to hold you back. I use mine for piecing quilts together, as well as making bags. I don’t have to worry about the guide getting caught on anything. I just sew pedal to the metal!
Now there are other tools you can use to help you achieve a 1/4” or any other seam allowance you may need. JUKI offers a variety of seam guides to help you get whatever seam allowance you need.
Lets start off with the “Magnetic Guide”:
The Magnetic Guide has a strong magnet located on the bottom to stick right onto the needle plate. It’s super powerful and won’t slide on you. Super helpful! This attachment works on all JUKI models, including the computerized machines so if you have one of each for example the TL-2010 and the DX7, you can use it on both.
The next one is another fan favorite of the bunch: the “Swing Gauge”
This tool is awesome!
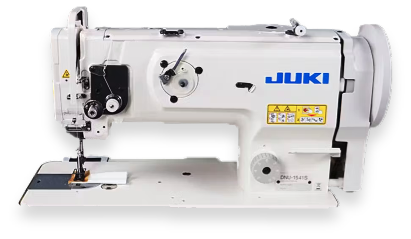
The Swing Gauge guide is specifically for the Juki TL mechanical machines but can also fit the Juki Industrial machines. The swing gauge is adjustable in two spots. You can control how far in or out you want to screw gauge onto your machine. This is super helpful if you are trying to get a really small allowance, like for top stitching. Next, you get to control the guide itself to be whatever length for your desired seam allowance. If you are someone who fluctuates between seam allowances (for example: in bag making you tend to go from construction to top stitching) you simply swing the gauge out of the way to get the job done. Its super convenient!
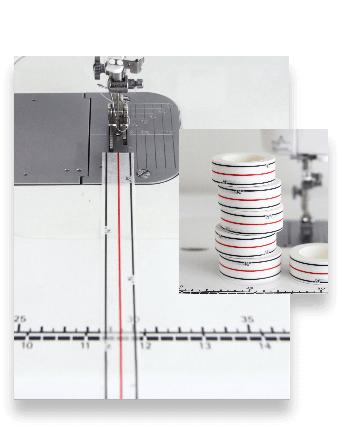
Lastly we have the “T- Gauge”:
The T-Gauge again, works specifically on the Juki TL Mechanical models, but also fits the Juki Industrial machines. This gauge attaches to your machine and you simply set it and then screw it into position. Remove when you are done. This is most practical for someone who always uses the same seam allowance over and over so there is no thinking involved. Just sew along the guide, and zoom through your projects.
I hope you guys found this helpful, and have a better understanding of your options so you can get the guides and accessories that are best for you. Everyone’s sewing needs are different and no specific way is better than others. There is no wrong choice! If you need any additional advice on parts feel free to call the shop (813)-661-9000, or send us an email to sewingmachines411@gmail.com and we will gladly help!
Xo,
Boki
Posted On: December 29, 2021
