Tension Gauge

$58.99$59.99

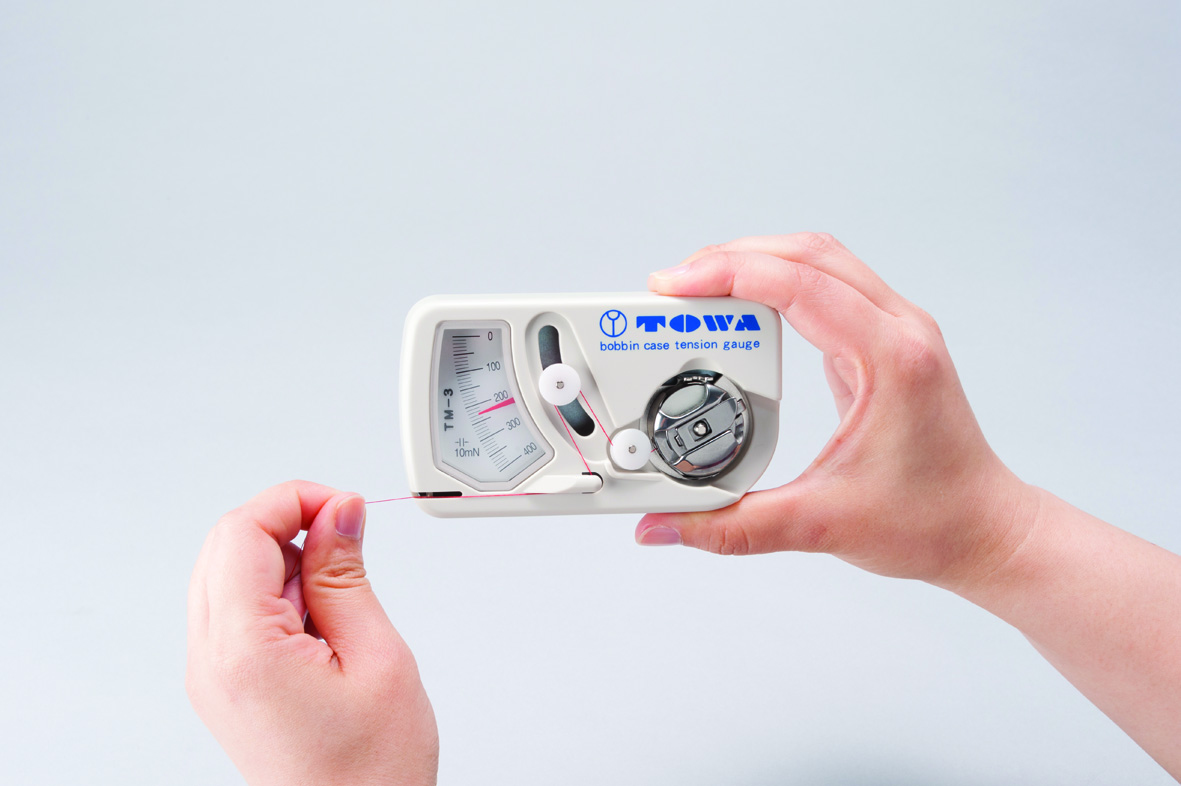
Take the guessing out of your tension with the TOWA Tension Gauge. Perfect for embroiderers, the bobbin tension gauge consistently measures and sets accurate embroidery bobbin case tension every time. The tension gauge helps eliminate the bobbin thread from poking into the top stitches, prevents the top stitches from looping, and prevents those dreaded thread breaks. With no set up required, the TOWA tension gauge is ready to use right out of the box. The size M is recommended for longarm machines and the size L is recommended for the TL machines.

SKU: TENGAUGE Categories: ,

Description

Take the guessing out of your tension with the TOWA Tension Gauge. Perfect for embroiderers, the bobbin tension gauge consistently measures and sets accurate embroidery bobbin case tension every time. The tension gauge helps eliminate the bobbin thread from poking into the top stitches, prevents the top stitches from looping, and prevents those dreaded thread breaks. With no set up required, the TOWA tension gauge is ready to use right out of the box. The size M is recommended for longarm machines and the size L is recommended for the TL machines.

Using the Tension Gauge:

  1. Remove the bobbin case from your machine, making sure the bobbin thread is out of the thread slot. Then place your bobbin case with the bobbin in it into the gauge slot. Snap the bobbin case into place.

  2. Wind your bobbin thread around the two pulley wheels then around the plastic hook end on your tension gauge.

  3. Pull your thread slowly, paying attention to the reading on the gauge. You are looking for a correct bobbin tension between 180 to 220 grams (up to 250 grams when embroidering caps).

    • Note: If your gauge is shown in units of 10’s, the correct bobbin tensions should be 18 to 22 grams.

  1. If you are out of the 180-220 gram range, turn your bobbin case spring tension screw to tighten or loosen to get back into range.

Note: Before using the Tension Gauge, make sure your bobbin case is clean. The gauge needle should provide a steady reading. If you see the gauge needle giving a bouncing or erratic reading you could have a dirty or defective bobbin case
Tip: Slide a business card back and forth under the bobbin tension spring to clear any dirt.

After adjusting your bobbin case tension, give it a test run.

  1. First run a fill stitch test pattern.

  2. See any top stitch looping? Tighten the main upper tension knob slightly until the looping disappears (looping can also occur if your bobbin tension is too tight).

  3. Ideal thread tension for satin stitches should reveal 1/3 bobbin and 2/3 top thread color on the underside of the embroidery.

Note: Too much bobbin showing on the underside and/or showing on the topside usually means either the bobbin tension is too loose or the top thread tension is too tight.

Part Number: 400TM3 (size M) and 400TM1 (size L)

Additional information

Machine

, , , , , , , , , , ,

Size

,

Video Tutorials

Quick Comparison

Tension Gauge removeElasticator Presser Foot removeSwing Gauge for Juki TL & J-150 QVP Machines removeFoot for Thin Fabric - Juki TL Machines removeStandard Presser Foot for Computerized Machines removeCoverstitch Hem Guide remove
NameTension Gauge removeElasticator Presser Foot removeSwing Gauge for Juki TL & J-150 QVP Machines removeFoot for Thin Fabric - Juki TL Machines removeStandard Presser Foot for Computerized Machines removeCoverstitch Hem Guide remove
ImageTension Gauge
SKUTENGAUGEJUKI-40138095JUKI-A9847D250A0JUKI-A98130960A0AJUKI-40057923b8e70cd6fec9
Rating
Price$58.99$59.99$22.99$74.99$24.99$49.99$9.99$16.99$45.99$49.99
Stock

141 in stock

11 in stock

2 in stock

Availability141 in stock11 in stock2 in stock
Add to cart

Select options

Select options

Add to cart

Add to cart

Select options

Select options

Description
Take the guessing out of your tension with the TOWA Tension Gauge. Perfect for embroiderers, the bobbin tension gauge consistently measures and sets accurate embroidery bobbin case tension every time. The tension gauge helps eliminate the bobbin thread from poking into the top stitches, prevents the top stitches from looping, and prevents those dreaded thread breaks. With no set up required, the TOWA tension gauge is ready to use right out of the box. The size M is recommended for longarm machines and the size L is recommended for the TL machines.
This presser foot is used for sewing in elastic tape while overlocking the edge of the fabric.This gauge is used as a guide for the edge of the fabric when sewing with a fixed seam allowance. This gauge can be swung toward you so that it is out of the way when not in use. Compatible with Juki TL machines and J-150 QVP. Such as:
  • Juki TL models include Juki TL-18QVP Haruka, Juki TL-15, Juki TL-2020PE, Juki TL-2010, Juki TL-2010Q, Juki TL-2000Q, Juki TL-2000QI, Juki TL-98, Juki TL-2200QVP Mini sewing machines.
This Thin Fabric presser foot is designed specifically for sewing lightweight materials easily. It reduces puckering and prevents skipped stitches as well as faulty stitching. Pair the thin throat plate for best results. Compatible with all Juki TL models. Such as:
  • Juki TL models include Juki TL-18QVP Haruka, Juki TL-15, Juki TL-2020PE, Juki TL-2010, Juki TL-2010Q, Juki TL-2000Q, Juki TL-2000QI, Juki TL-98, Juki TL-2200QVP Mini sewing machines.
This standard presser foot is used for sewing straight stitches and zigzag stitches. It can be used to sew lightweight to heavyweight materials.This guide is used for setting the folded width of the fabric and the stitching postiton for coverstitching.
Content

Take the guessing out of your tension with the TOWA Tension Gauge. Perfect for embroiderers, the bobbin tension gauge consistently measures and sets accurate embroidery bobbin case tension every time. The tension gauge helps eliminate the bobbin thread from poking into the top stitches, prevents the top stitches from looping, and prevents those dreaded thread breaks. With no set up required, the TOWA tension gauge is ready to use right out of the box. The size M is recommended for longarm machines and the size L is recommended for the TL machines.

Using the Tension Gauge:

  1. Remove the bobbin case from your machine, making sure the bobbin thread is out of the thread slot. Then place your bobbin case with the bobbin in it into the gauge slot. Snap the bobbin case into place.

  2. Wind your bobbin thread around the two pulley wheels then around the plastic hook end on your tension gauge.

  3. Pull your thread slowly, paying attention to the reading on the gauge. You are looking for a correct bobbin tension between 180 to 220 grams (up to 250 grams when embroidering caps).

    • Note: If your gauge is shown in units of 10’s, the correct bobbin tensions should be 18 to 22 grams.

  1. If you are out of the 180-220 gram range, turn your bobbin case spring tension screw to tighten or loosen to get back into range.

Note: Before using the Tension Gauge, make sure your bobbin case is clean. The gauge needle should provide a steady reading. If you see the gauge needle giving a bouncing or erratic reading you could have a dirty or defective bobbin case Tip: Slide a business card back and forth under the bobbin tension spring to clear any dirt.

After adjusting your bobbin case tension, give it a test run.

  1. First run a fill stitch test pattern.

  2. See any top stitch looping? Tighten the main upper tension knob slightly until the looping disappears (looping can also occur if your bobbin tension is too tight).

  3. Ideal thread tension for satin stitches should reveal 1/3 bobbin and 2/3 top thread color on the underside of the embroidery.
Note: Too much bobbin showing on the underside and/or showing on the topside usually means either the bobbin tension is too loose or the top thread tension is too tight.

Part Number: 400TM3 (size M) and 400TM1 (size L)

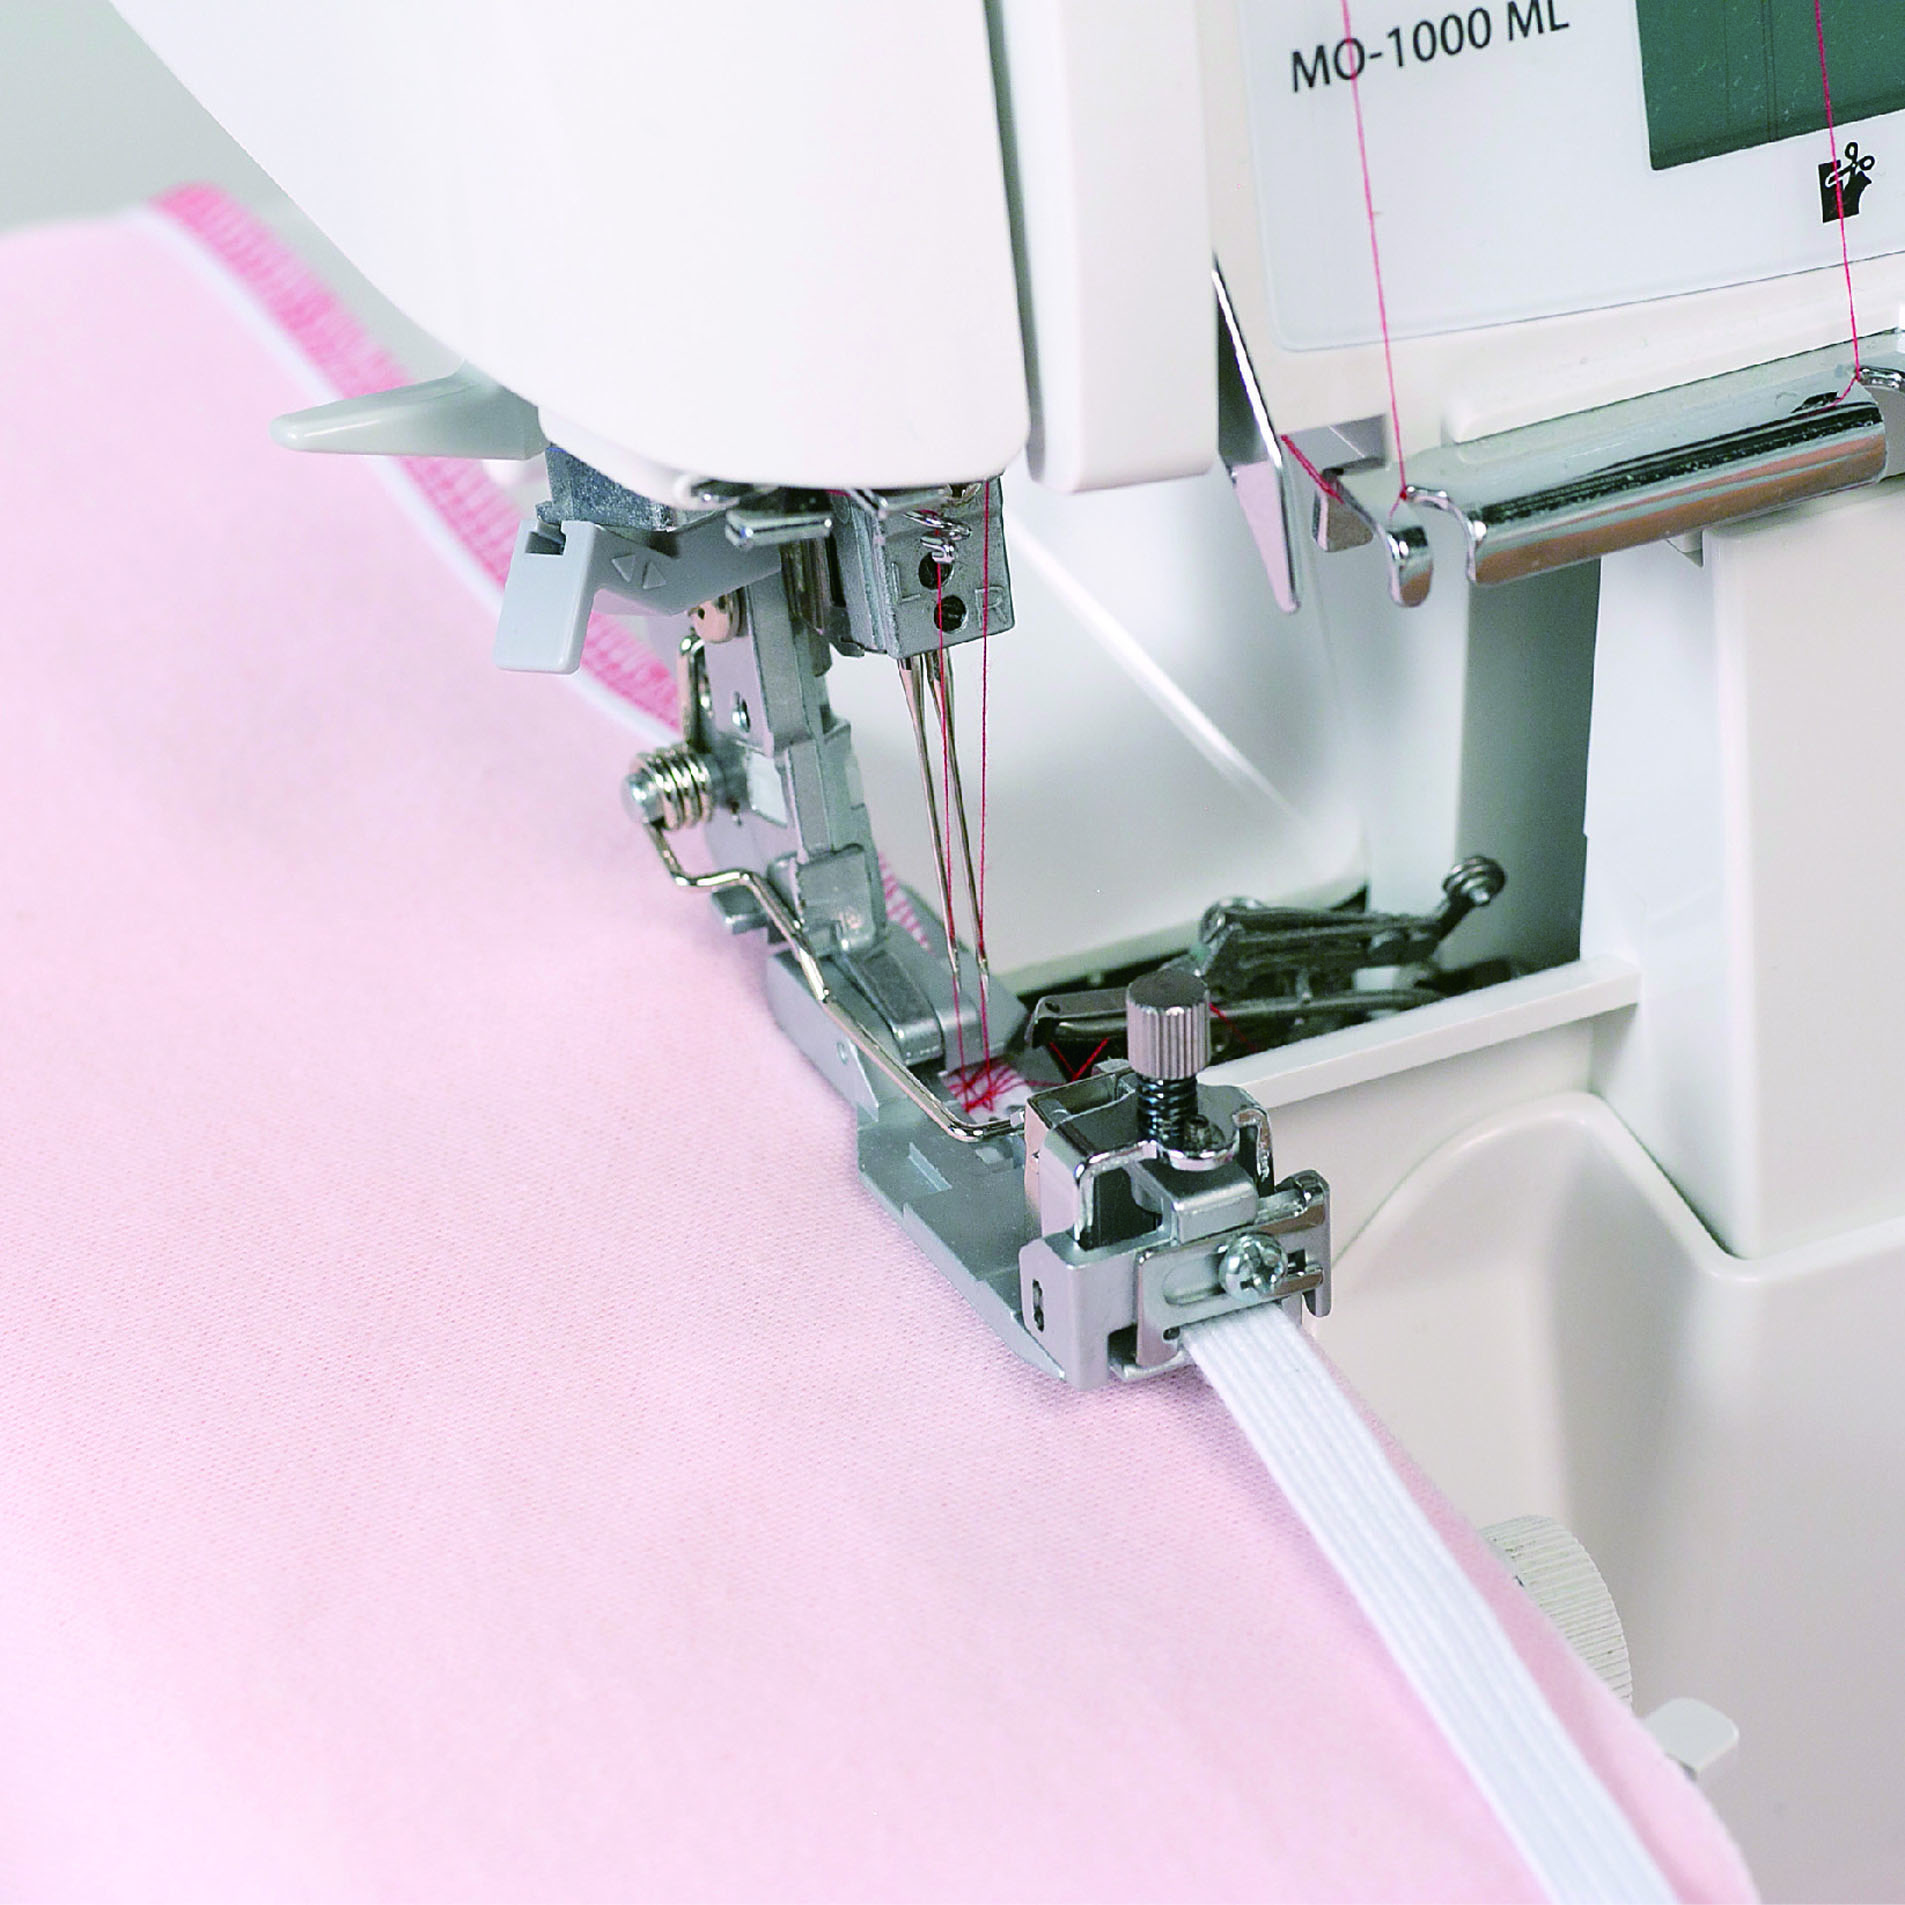
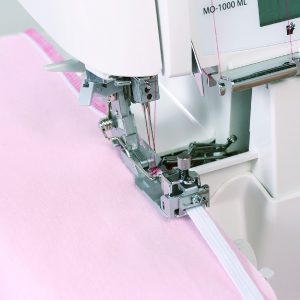
This presser foot is used for sewing in elastic tape while overlocking the edge of the fabric.
  • Tension is applied to the elastic tape by the roller guide at the front of the presser foot, stretching the tape while it is sewn in. The tension can be adjusted with the roller clamping screw. Elastic tape with a width of 5 to 8 mm width is best.
Part Number: 40138095 and A98156550A0

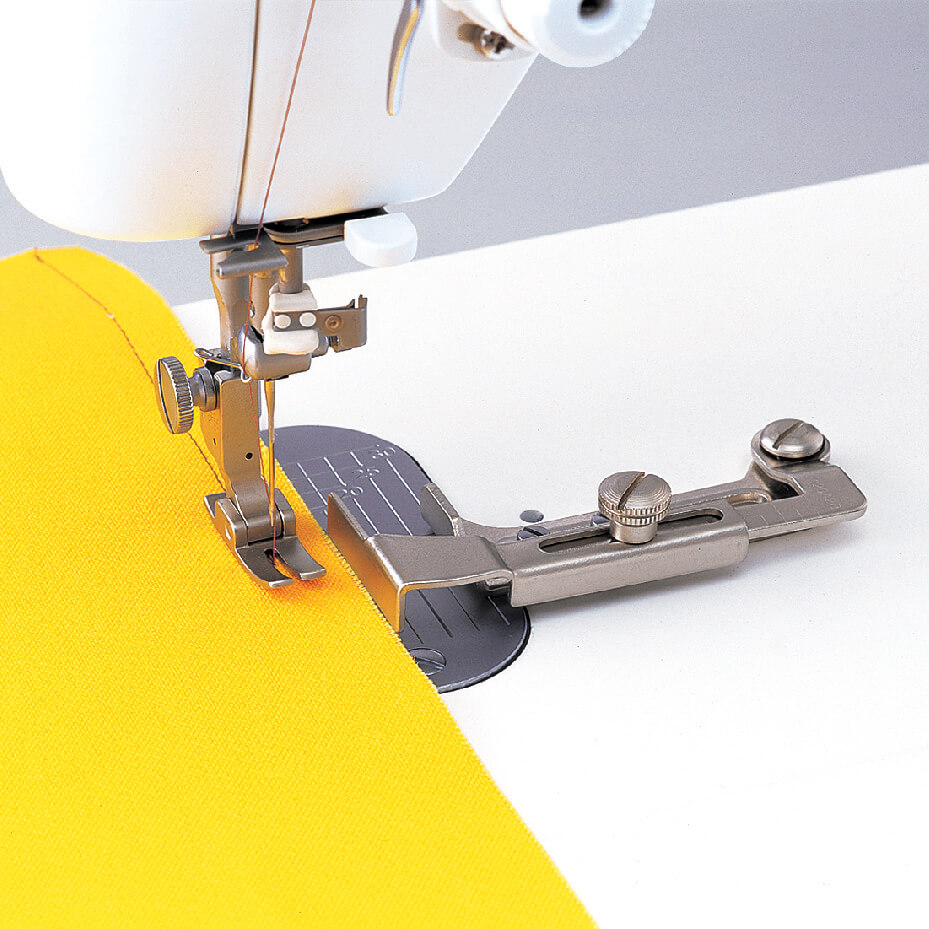
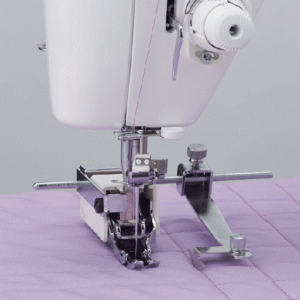
This gauge is used as a guide for the edge of the fabric when sewing with a fixed seam allowance. The gauge can be swung toward you so that it is out of the way when not in use.

  • The guide, being short at the front and back, makes this gauge perfect for sewing gentle curves

  • The gauge can be moved as far as 1.2" (30 mm) from the needle and secured by loosening and tightening the screws with a screwdriver.

Compatible with Juki TL machines and J-150 QVP. Such as:

    • Juki TL models include Juki TL-18QVP Haruka, Juki TL-15, Juki TL-2020PE, Juki TL-2010, Juki TL-2010Q, Juki TL-2000Q, Juki TL-2000QI, Juki TL-98, Juki TL-2200QVP Mini sewing machines.

Part Number: A9847D250A0

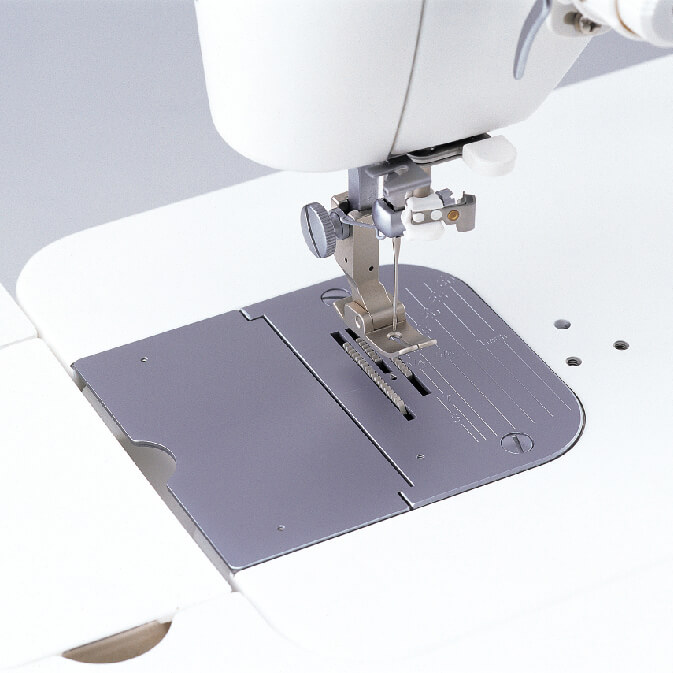
This Thin Fabric presser foot is designed specifically for sewing lightweight materials easily.

Since the needle drops into a round opening, this presser foot reduces puckering when sewing lightweight materials, preventing skipped stitches as well as faulty stitching.

Compatible with all Juki TL models. Such as:

  • Juki TL models include Juki TL-18QVP Haruka, Juki TL-15, Juki TL-2020PE, Juki TL-2010, Juki TL-2010Q, Juki TL-2000Q, Juki TL-2000QI, Juki TL-98, Juki TL-2200QVP Mini sewing machines.

Part Number: A98130960A0A

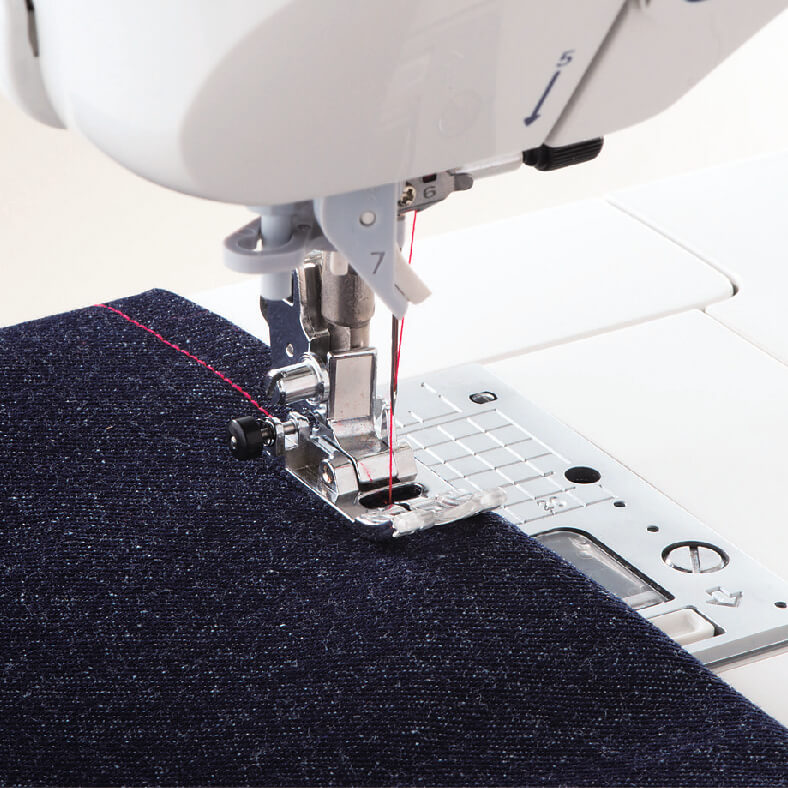
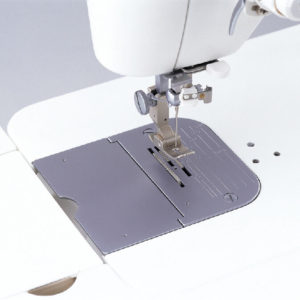
This standard presser foot is used for sewing straight stitches and zigzag stitches. It can be used to sew lightweight to heavyweight materials.
  • The wide needle entry opening allows this presser foot to be used for a variety of fabrics and applications, from straight stitches to zigzag stitches.
  • Press the black button to keep the presser for horizontal in order to smoothly begin sewing at a thick seam.
This listing is for computerized machines only.

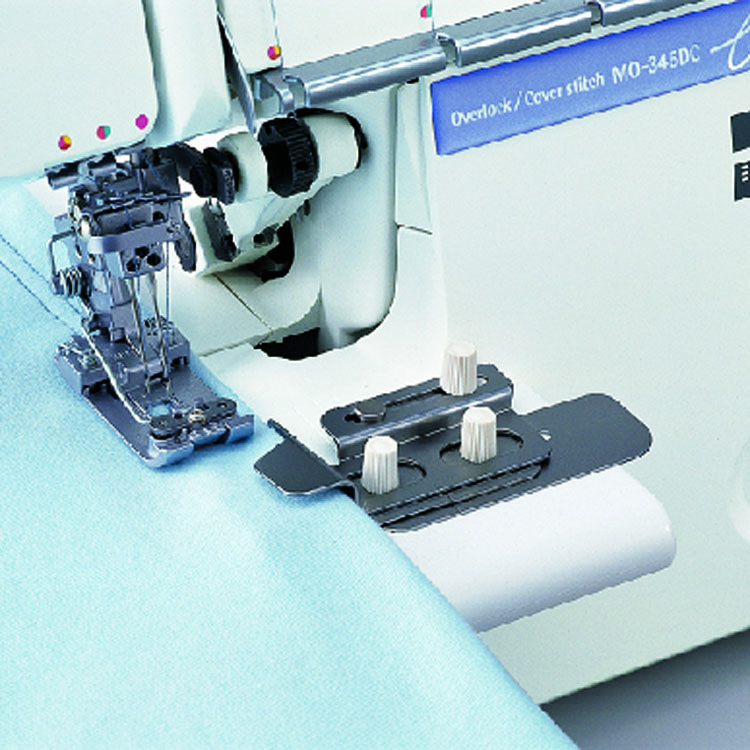
This guide is used for setting the folded width of the fabric and the stitching position for coverstitching.

  • This guide can set the folded width of the fabric and align the edge of the fabric from the back side, where it is difficult to see the coverstitching. First fold the fabric to the width that is to be sewn, and then adjust the guide according to the width of the fold. This guide is perfect for finishing pant and sleeve hems of clothes.

Series & Part Number

  • MO-735: 40122229
  • MCS-1500: 40177371
  • MCS-1700QVP: 40177371
WeightN/AN/AN/AN/AN/AN/A
DimensionsN/AN/AN/AN/AN/AN/A
Additional information
Machine

, , , , , , , , , , ,

Size

,

Part Numbers

#40138095, #A9815-655-0A0A, #40131947

Machine Type

Machine

, , , , , , , ,

Part Numbers

#A9847-D25-0A0

Part Numbers

#A9813-096-0A0A

Machine Type

Machine

, , , , , , , , , , , , , , , , , , , , , , ,

Part Numbers

#40122229, #40177371